Step-by-step eyelash curling tutorial for long-lasting, lifted lashes
Curling your eyelashes the right way can instantly make your eyes look bigger, brighter, and more awake even without makeup. If your lashes drop, pinch, or lose curl fast, you’re not alone. The good news? With the right technique, you can curl your lashes like a pro at home.
Follow this easy step-by-step guide to get long-lasting, perfectly curled lashes every time.
Why Curling Your Lashes Matters
Curling your lashes:
Opens up your eyes Makes lashes look longer Helps mascara apply better Creates a polished, lifted look
It’s one of the simplest beauty tricks with the biggest impact.
Step 1: Start With Clean, Dry Lashes
Always curl lashes before mascara. Clean, dry lashes hold a curl better and prevent damage.
Step 2: Choose the Right Eyelash Curler
A good eyelash curler makes all the difference.
Look for:
A curved shape that fits your eye Soft rubber pads Firm but gentle pressure
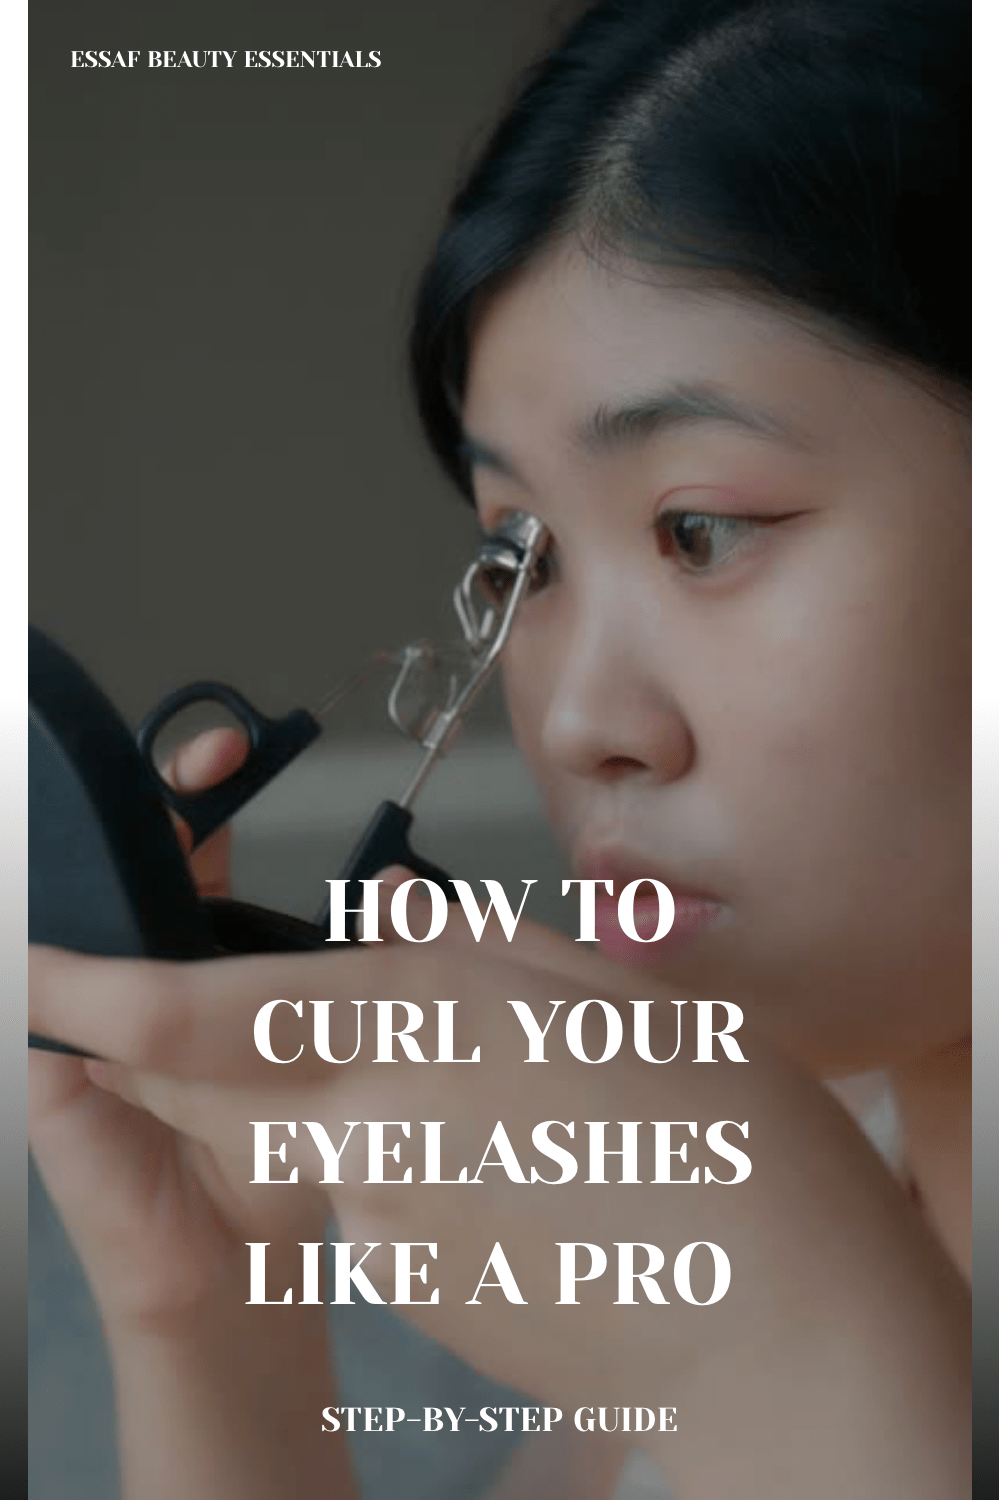
Step 3: Position the Curler Correctly
Place the curler at the base of your lashes, as close to the lash line as possible without pinching skin.
Step 4: Press & Hold
Gently squeeze and hold for 5–10 seconds. Don’t tug or pull slow pressure works best.
Step 5: Pulse for a Natural Curl
Instead of one hard press, lightly pulse the curler as you move slightly upward along the lashes. This creates a natural curve instead of a sharp bend.
Step 6: (Optional) Warm the Curler Slightly
Warm curlers hold curl longer.
⚠️ Test the temperature first on your hand to avoid burns.
Step 7: Apply Mascara Carefully
Use a curl-holding or waterproof mascara to lock in the curl.
Apply from roots to tips using a gentle wiggle motion.
Step 8: Avoid Over-Curling
Curling too many times can weaken lashes. One proper curl is enough.
Step 9: Fix Mistakes Gently
If lashes stick together, separate them with a clean spoolie while mascara is still slightly wet.
Step 10: Set & Go
Let mascara dry fully before blinking hard or touching your lashes.
Common Eyelash Curling Mistakes
❌ Curling after mascara
❌ Using a dirty curler
❌ Pulling lashes too hard
❌ Using broken rubber pads
Replace curler pads regularly for best results.
Best Tools for Curled Lashes
Quality eyelash curler Curl-holding mascara Lash comb or spoolie
Final Thoughts
Learning how to curl your eyelashes like a pro takes just a few minutes but makes a huge difference. With the right tools and technique, you can enjoy lifted, long-lasting lashes every day — no extensions needed.
✨ Save this guide and make it part of your beauty routine.
Affiliate Disclosure
This post may contain affiliate links. If you purchase through my links, I may earn a small commission at no extra cost to you. Thank you for supporting Essaf Beauty Essentials 💕
